Background

Thursday, March 21, 2013

First Time with Artisan Enhancements Transfer Gel: Easy and Not So Easy

Good morning all!

It is darn cold here, and we had more snow falling yesterday, even though spring is technically almost here. (Didn't that groundhog predict an early spring? Ha! This guy needs a talking to!)

I recently visited Michelle Gallant's lovely store, Diamonds and Toads, in St. Thomas, Ont. (She doesn't have a website, but you can visit her on her Facebook page.) Michelle is a retailer for Annie Sloan and she also carries the Artisan Enhancements line. You can read about their products here. I was dying to try their transfer gel!

This was my first attempt, an inexpensive candle plate I picked up at the thrift. It was gold and rough looking, but I gave it a makeover with ASCP cream. It looks as good as new now!
The White Pear Tree
Then I picked out this lovely graphic from who else, the Graphics Fairy!

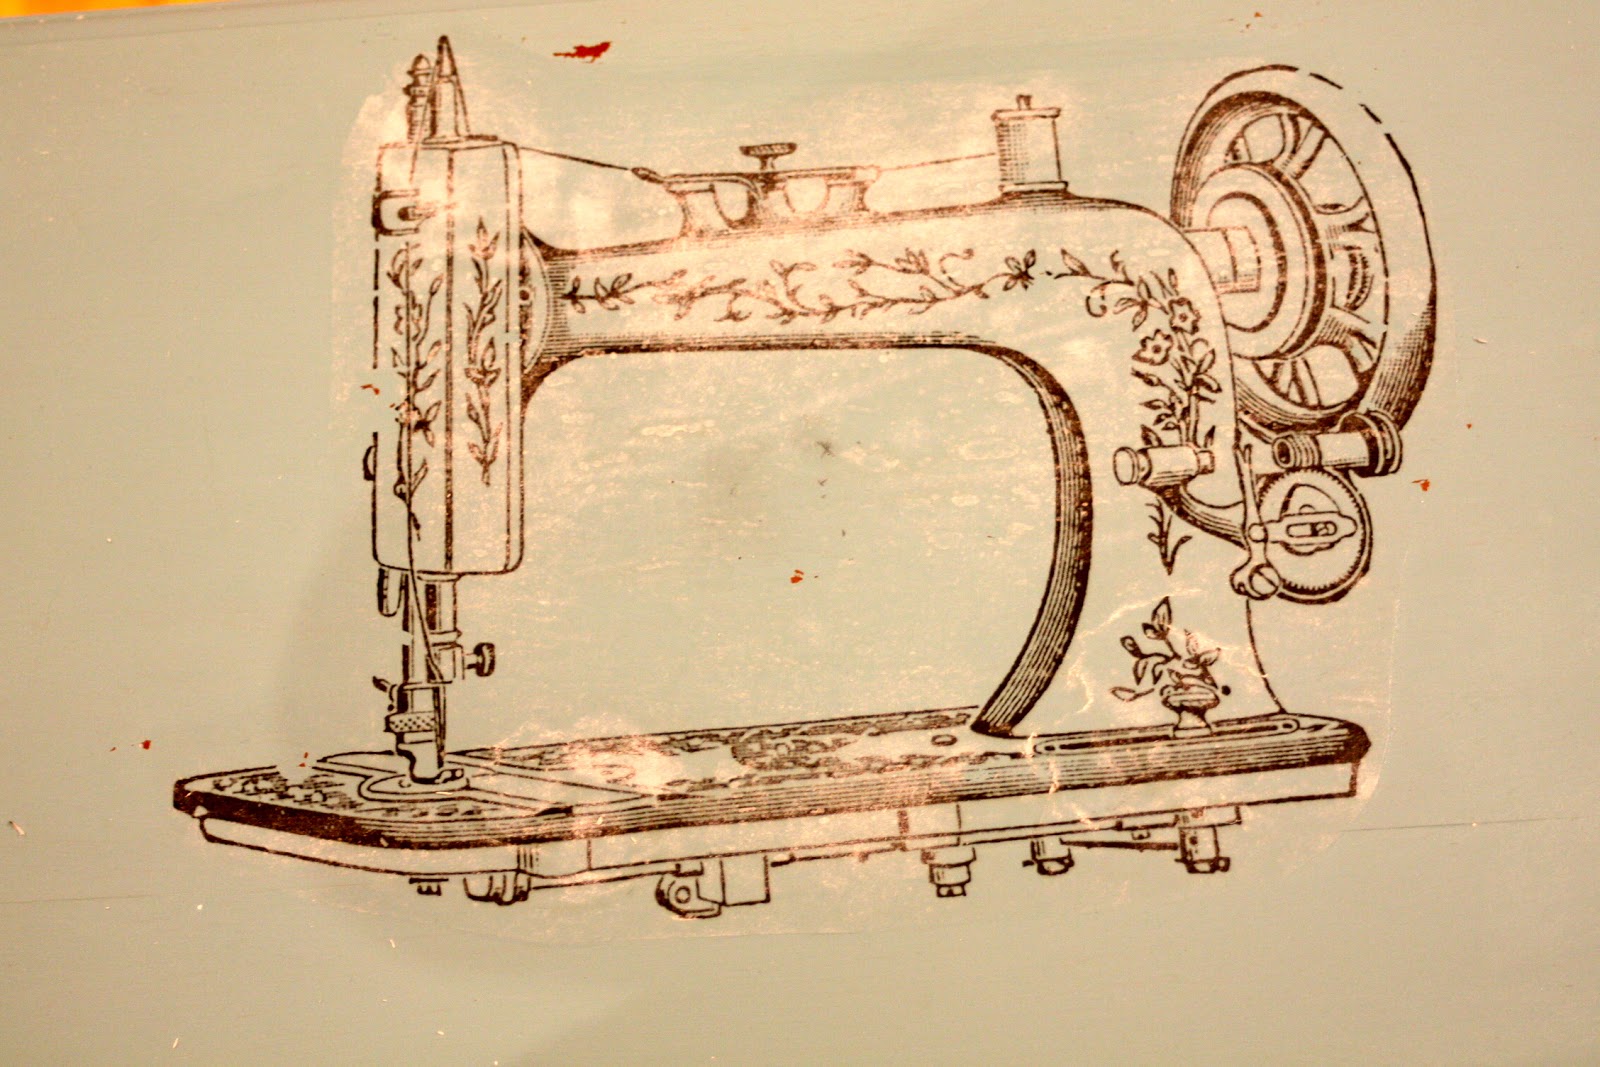
To transfer an image with AE gel, it needs to be printed with a laser jet printer. Don't forget to reverse the picture to a mirror image if it has words or it needs to go a certain way, like the sewing machine further down.

Apply the transfer gel to both the paper and to the object where you want your picture. Then, put the paper in place face down and smooth it out. Let dry overnight or for several hours. Then with a spray bottle filled with water, wet the paper and let sit for a few minutes. With a sponge or a cloth, rub the paper away.

I was lucky right off the bat with this picture. The transfer was nice and crisp! It seems to be easier to transfer on light or white paint, as it doesn't leave as much of a "halo", which is the gloss left behind by the transfer gel. You could see a little bit of a halo on this piece, so I brushed a bit of cream paint to cover it. Once dry, I applied clear wax.

This is the second piece I applied a transfer to.

I acquired this cute piece at auction. It was in the same lot as a magnificent Art Deco vanity and bench.

The White Pear Tree

The White Pear Tree
 It's a lovely little sewing cabinet to store all your sewing notions and supplies. I imagine it's somewhat old and it is in very good shape.

The White Pear Tree
I painted it in Provence. I felt it needed a fun, happy colour. I found a lovely vintage sewing machine picture at the Graphics Fairy. So fitting, don't you think! I went through the same steps as for the plate to do the image transfer.

The White Pear Tree
 Well. Not so good this time. It left a lot of white gel as you can see. So I sanded it down and repainted it, then reapplied the image.

The White Pear Tree
 Three. Times.

The White Pear Tree

You see, if you rub too hard, the image comes off too. And the paint. 

Yes, I was frustrated at this point. But I am determined if nothing else. This was going to happen.

So I tried something different this time. I kept wetting the image, particularly the spots with the white goo, letting the water sit on it for a while and then rubbing gently. I did this several times. And this did the trick. The white goo slowly came off. This requires a little bit of patience, but stick with it.

The White Pear Tree
Success! I finally was left with a nice, crisp image. Love it!

The White Pear Tree
The White Pear Tree

The White Pear Tree
 I left the inside of the top unpainted as it was in very good condition.

The White Pear Tree
 I painted the inside of the drawers in Aubusson Blue for a bit of unexpected contrast.


I'm sold on the AE transfer gel. It helps you achieve a nice, crisp and clear transfer. Just be patient with it. I just wished they had an online tutorial or more instructions on their website. As it is, I suspect this will come from the blogging community, as more and more people use it and experiment with it.

 Have you tried Artisan Enhancements Transfer Gel? What was your experience with it?

Stay warm!

Nicole


*******

Linking up to:

http://suzyq-vintagous.blogspot.ca/2013/03/je-suis-un-linky-party-co-host.html

Furniture Feature Fridays


br>


http://diyshowoff.com/category/other/that-diy-party/" title="DIY Show Off">http://i899.photobucket.com/albums/ac195/Roeshel/thatdiyparty125button_zps360f71b1.jpg
" alt="DIY Show Off" style="border:none;" />
Read more at http://diyshowoff.com/2013/03/24/that-diy-party-9/#AtIySZ7wIf2FZfRy.99 


UndertheTableandDreaming 

Thursday, March 7, 2013

Oh La La! Chair

Hello all!

I hear the temperature will be nice and warm on Sunday, which means spring is slowly creeping in! Sooo excited.

Today, I have a little chair I found cubside a long time ago. It was actually brass coloured metal. I spray painted (or sprainted as Suzan from Simply Vintageous would say, lol!) it black for some reason, but then decided that it needed to be more girly than that.

The White Pear Tree


I resprayed it white.

The White Pear Tree
Doesn't she have pretty legs?

I then painted some pink stripes. I used a ruler and a black sharpie to highlight the pink stripes. The pink paint was an "oops" colour. Pretty mistake, wouldn't you say? Usually, oops colours are ghastly, but this one was really nice.

The White Pear Tree

I printed the oh la la!, transferred it with graphite paper and painted it black. I finished it with a santin polyurethane on the seat to protect the design. By the way, in French, oh la la only takes one "o". The North Americans added an "o" somewhere along the way, lol!

The White Pear Tree

Et voilĂ , oh la la!

The White Pear Tree

(Sorry, this last pic is a little fuzzy.) It is now in my older daughter's bedroom, where she uses it to prop her American doll. 

Here's hoping you get some lovely spring weather you way too!

Hugs,


Nicole

*******

Linking up to:

Feathered Nest Friday at:


Furniture Feature Fridays


Wednesday, February 27, 2013

Younger Daughter's Bedroom

Hi everyone,

It's been a few weeks since I last posted. I had blogger's block. A lot of times, I want to write and post about stuff, but of course, I like to post pictures and for some reason, I can't seem to be able to post pictures I have freshly uploaded to my computer. It gets frustrating. So many things I don't know how to do...

Oh well, I'm here today. We're having another heavy snowfall, and it's very wet snow, more like slush. The roads are a mess! I'm staying put today.

A while ago I posted a little tour of my older daughter's bedroom, which you can see here. Well, you can't show one daughter's room and not show the other's, so here it is.

The White Pear Tree
It all started with this pretty comforter. This was in fact my older daughter's university dorm's set, but after the first year, when she moved out of residence and into a house with other girls, we got her a double bed, so my younger daughter quickly jumped on this as she loved it so much.

The White Pear Tree
We already had this pretty Eiffel tower poster (which was actually bought in Las Vegas and not Paris, lol!), so the young lady's red coat was our inspiration for the red accents: pillow, throw, candle, etc.
(I asked my husband while we were in Paris if we could find the street where this picture was taken and he could take a picture of me jumping in the same manner. He said no. I guess he thought it would be embarrassing. Plus I don't look cute like the girl in the picture. Sigh, he's no fun, lol!)

The White Pear Tree

The White Pear Tree
Isn't it nice when the bed is actually made?


The White Pear Tree
In one of the corners, we created a little reading nook: a bookshelf, a tub chair, a lamp and an FAO Schwartz teddy bear for company! You can see the pretty damask black curtains we picked, which echo the motif of the bead spread.

The White Pear Tree

The White Pear Tree

The White Pear Tree
The damask motif make the curtains look traditional, yet the colour and the grommets give them a definite modern vibe. A perfect mix for a young lady's room, feminine, yet edgy.

The White Pear Tree
This was an old brass chandelier that we spray painted glossy black to give it new life. There is actually a chandelier on the bed spread, but you can't see it in my pictures, but this is fitting with it.


The White Pear Tree
We added a ceiling medallion we picked up at the Habitat for Humanity re-use store. It was brand new! 

The White Pear Tree
The walls are painted a soft grey that we picked up from the comforter. (There is some grey in it if you look closely!)

This was all done on a budget and re-using things we already had. My daughter loves her room and I think it was a nice grownup move away from the purple and green butterfly room of her childhood years. (With maybe just a teddy bear or two, lol!)

Hope you liked our tour.

Have a wonderful Wednesday everyone!


Nicole
xox

Sunday, February 3, 2013

Something to Write About

I found this little writing desk at the curb. 

 There was nothing wrong with it. Absolutely nothing.

Yeah, again, I forgot to take the before picture, so you're in fact getting a "during" picture. And a crappy picture at that. It will just have to do. 


 And here she is finished. Paris Grey, with Old White accents. 
Such pretty long legs!


Followed by clear wax.

It's so cute. It has a groove on top for your pens and pencils and storage underneath for your writing paper or, more likely, your lap top, since sadly, hardly anybody hand writes notes anymore.

I made embellishments using another stencil from my girl Martha. These stencils are so beautifully detailed, it looks like real lace!

So tempted to keep it for myself, because it's so cute and romantic, but let's be honest, I have no room for it. Sigh!

Perhaps whoever ends up owning it will be inspired to start hand writing letters to everyone!
I accessorized it with roses in a julep cup. I bought the beautiful silk roses on my Hobby Lobby shopping spree a few weeks ago. They were a little pricy but so worth it because they're so realistic looking. And the beautiful silver plated julep cup I put them in? I thrifted it at Value Village for $6. It's from Pottery Barn and would probably have costed around $30 originally. Yeah. 
Mine has tarnish on it. Bonus!


Little fun fact for ya about julep cups: According to Wikipedia, traditionally, mint juleps were often served in silver or pewter cups, and held only by the bottom and top edges of the cup. This allows frost to form on the outside of the cup. Traditional hand placement may have arisen as a way to reduce the heat transferred from the hand to the silver or pewter cup.


*******
Linking up to:

A Diamond in the Stuff

http://www.greenwillowpond.com/

Wednesday, January 23, 2013

Odds and Ends

Well, hello all!

It is a sunny but very chilly day here in Ontario. And I'm going to make chili for dinner, so we're not so chilly. Yum. Such a perfect winter food.

I'm featuring a few pieces of furniture today, odds and ends. I have before pictures for only one of them, as the other three pieces were store pieces I painted on the premises and did not have my camera with me.

First off is an accent table I painted Old White on the bottom and Duck Egg Blue on top, finished with clear wax. 


I had been wanting to do something with a wreath and a bee for a while now and this round table was perfect for it.

I used a Martha Stewart Stencil to trace the design and then I painted it by hand, adding my own details to Mr. Bee.

***

Here is a sofa table I repainted in Old White and French Linen:
I spray painted the handles in Oiled Rubbed Bronze. I like the contrast.

***

Now this table I bought at a garage sale. It looked sad with its 90's saraning paint treatment!


But it had  great legs and it was solid.

Just an ugly colour.

First off, I painted it in Versailles.

Hmmm, that didn't click with me. I don't know what it was. At least the ugly paint treatment was gone!


I then repainted it in Country Grey. It still didn't click, until I realized it wasn't the paint colour, it just needed some highlighting, which I did on the legs and the skirt using Old Ochre.

I then used a mix of clear and dark wax to deepen the colours a bit, followed by some distressing. Much better!

***

And finally, I repainted this little night table with Old White and Paloma, my first time with this lovely colour, followed by clear wax. The handle was spray painted silver, which looks nice with Paloma. It would look nice in a little girl's room I think.


VoilĂ ! These are just a few of the projects that have been keeping me busy at the store.


Linking up to:

Furniture Feature Fridays